RadicalBomb.com
The homepage for Steve Radabaugh
A Computer for the After Times
I spent some time in the last week designing and building this computer. It’s based on a similar design by Jay Doscher of Back7.
My goals were a bit different than his, so I need different devices in it, and I have a screen on hand that is very different than the official raspberry pi screen that he used, so the mounts had to be completely different.
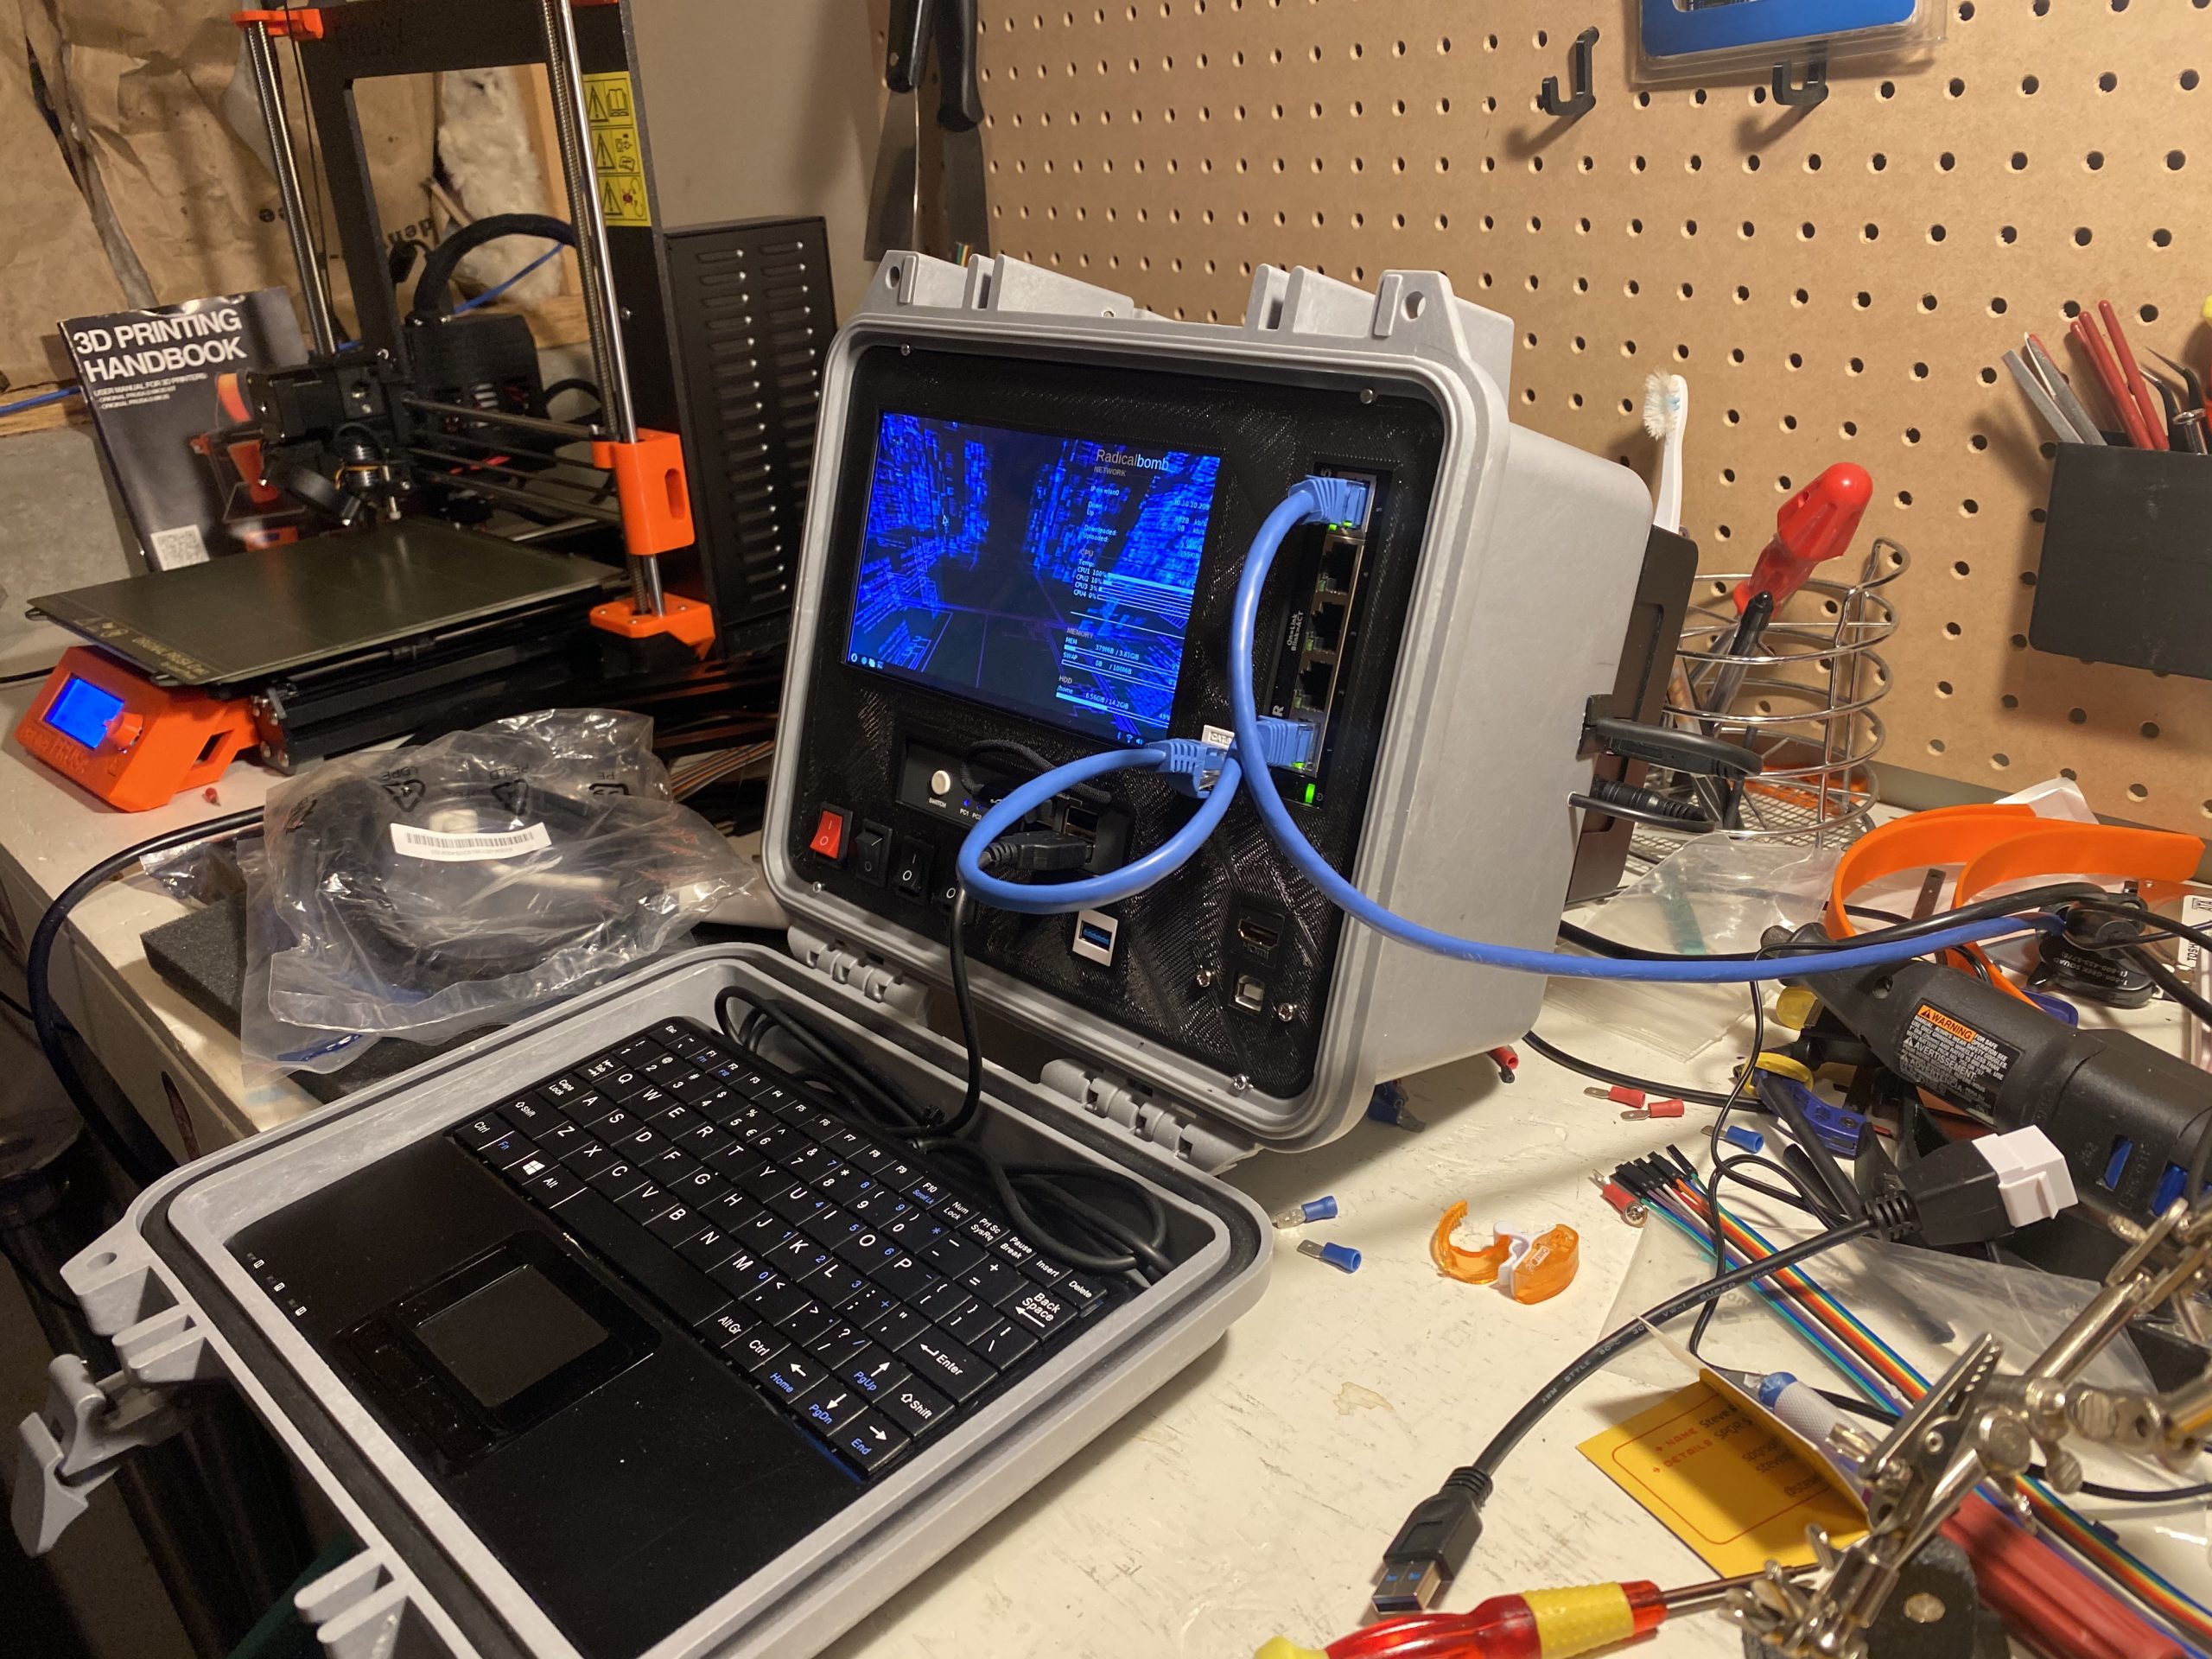
While the original was built more for an end of times situation, this one is for portable data recovery, network testing, and can function as a monitor and keyboard/mouse for any computer should I need one.
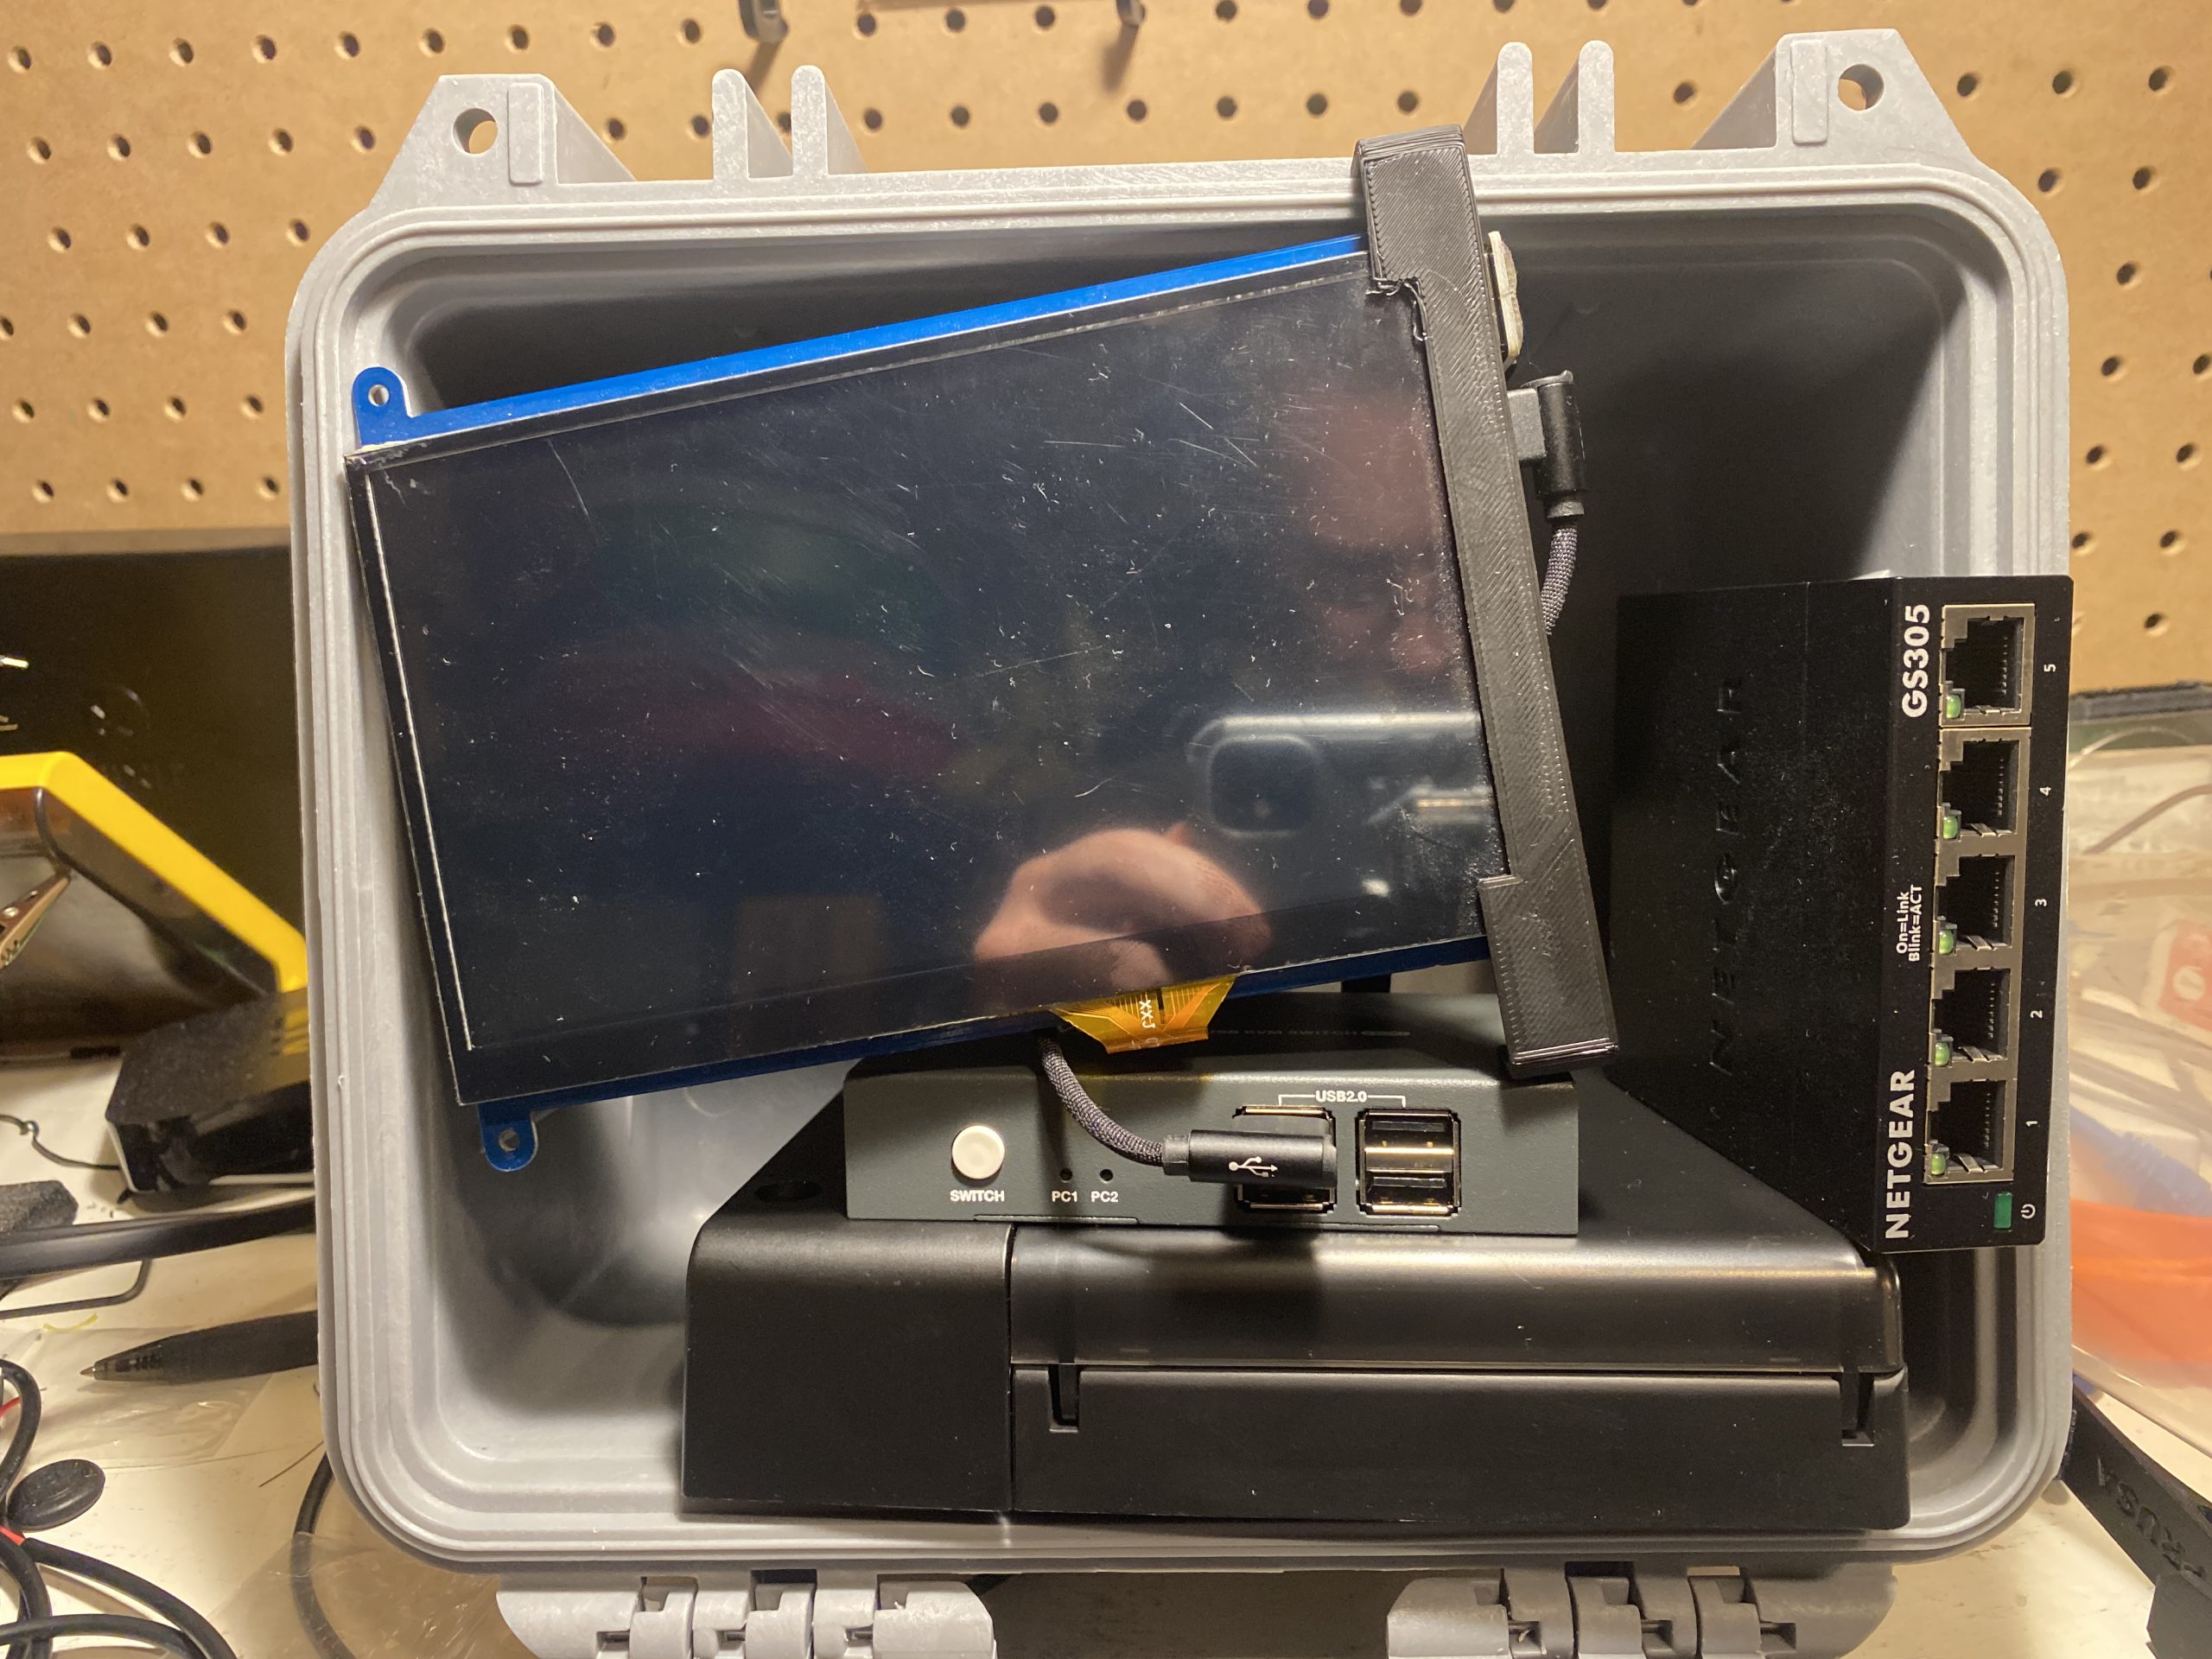
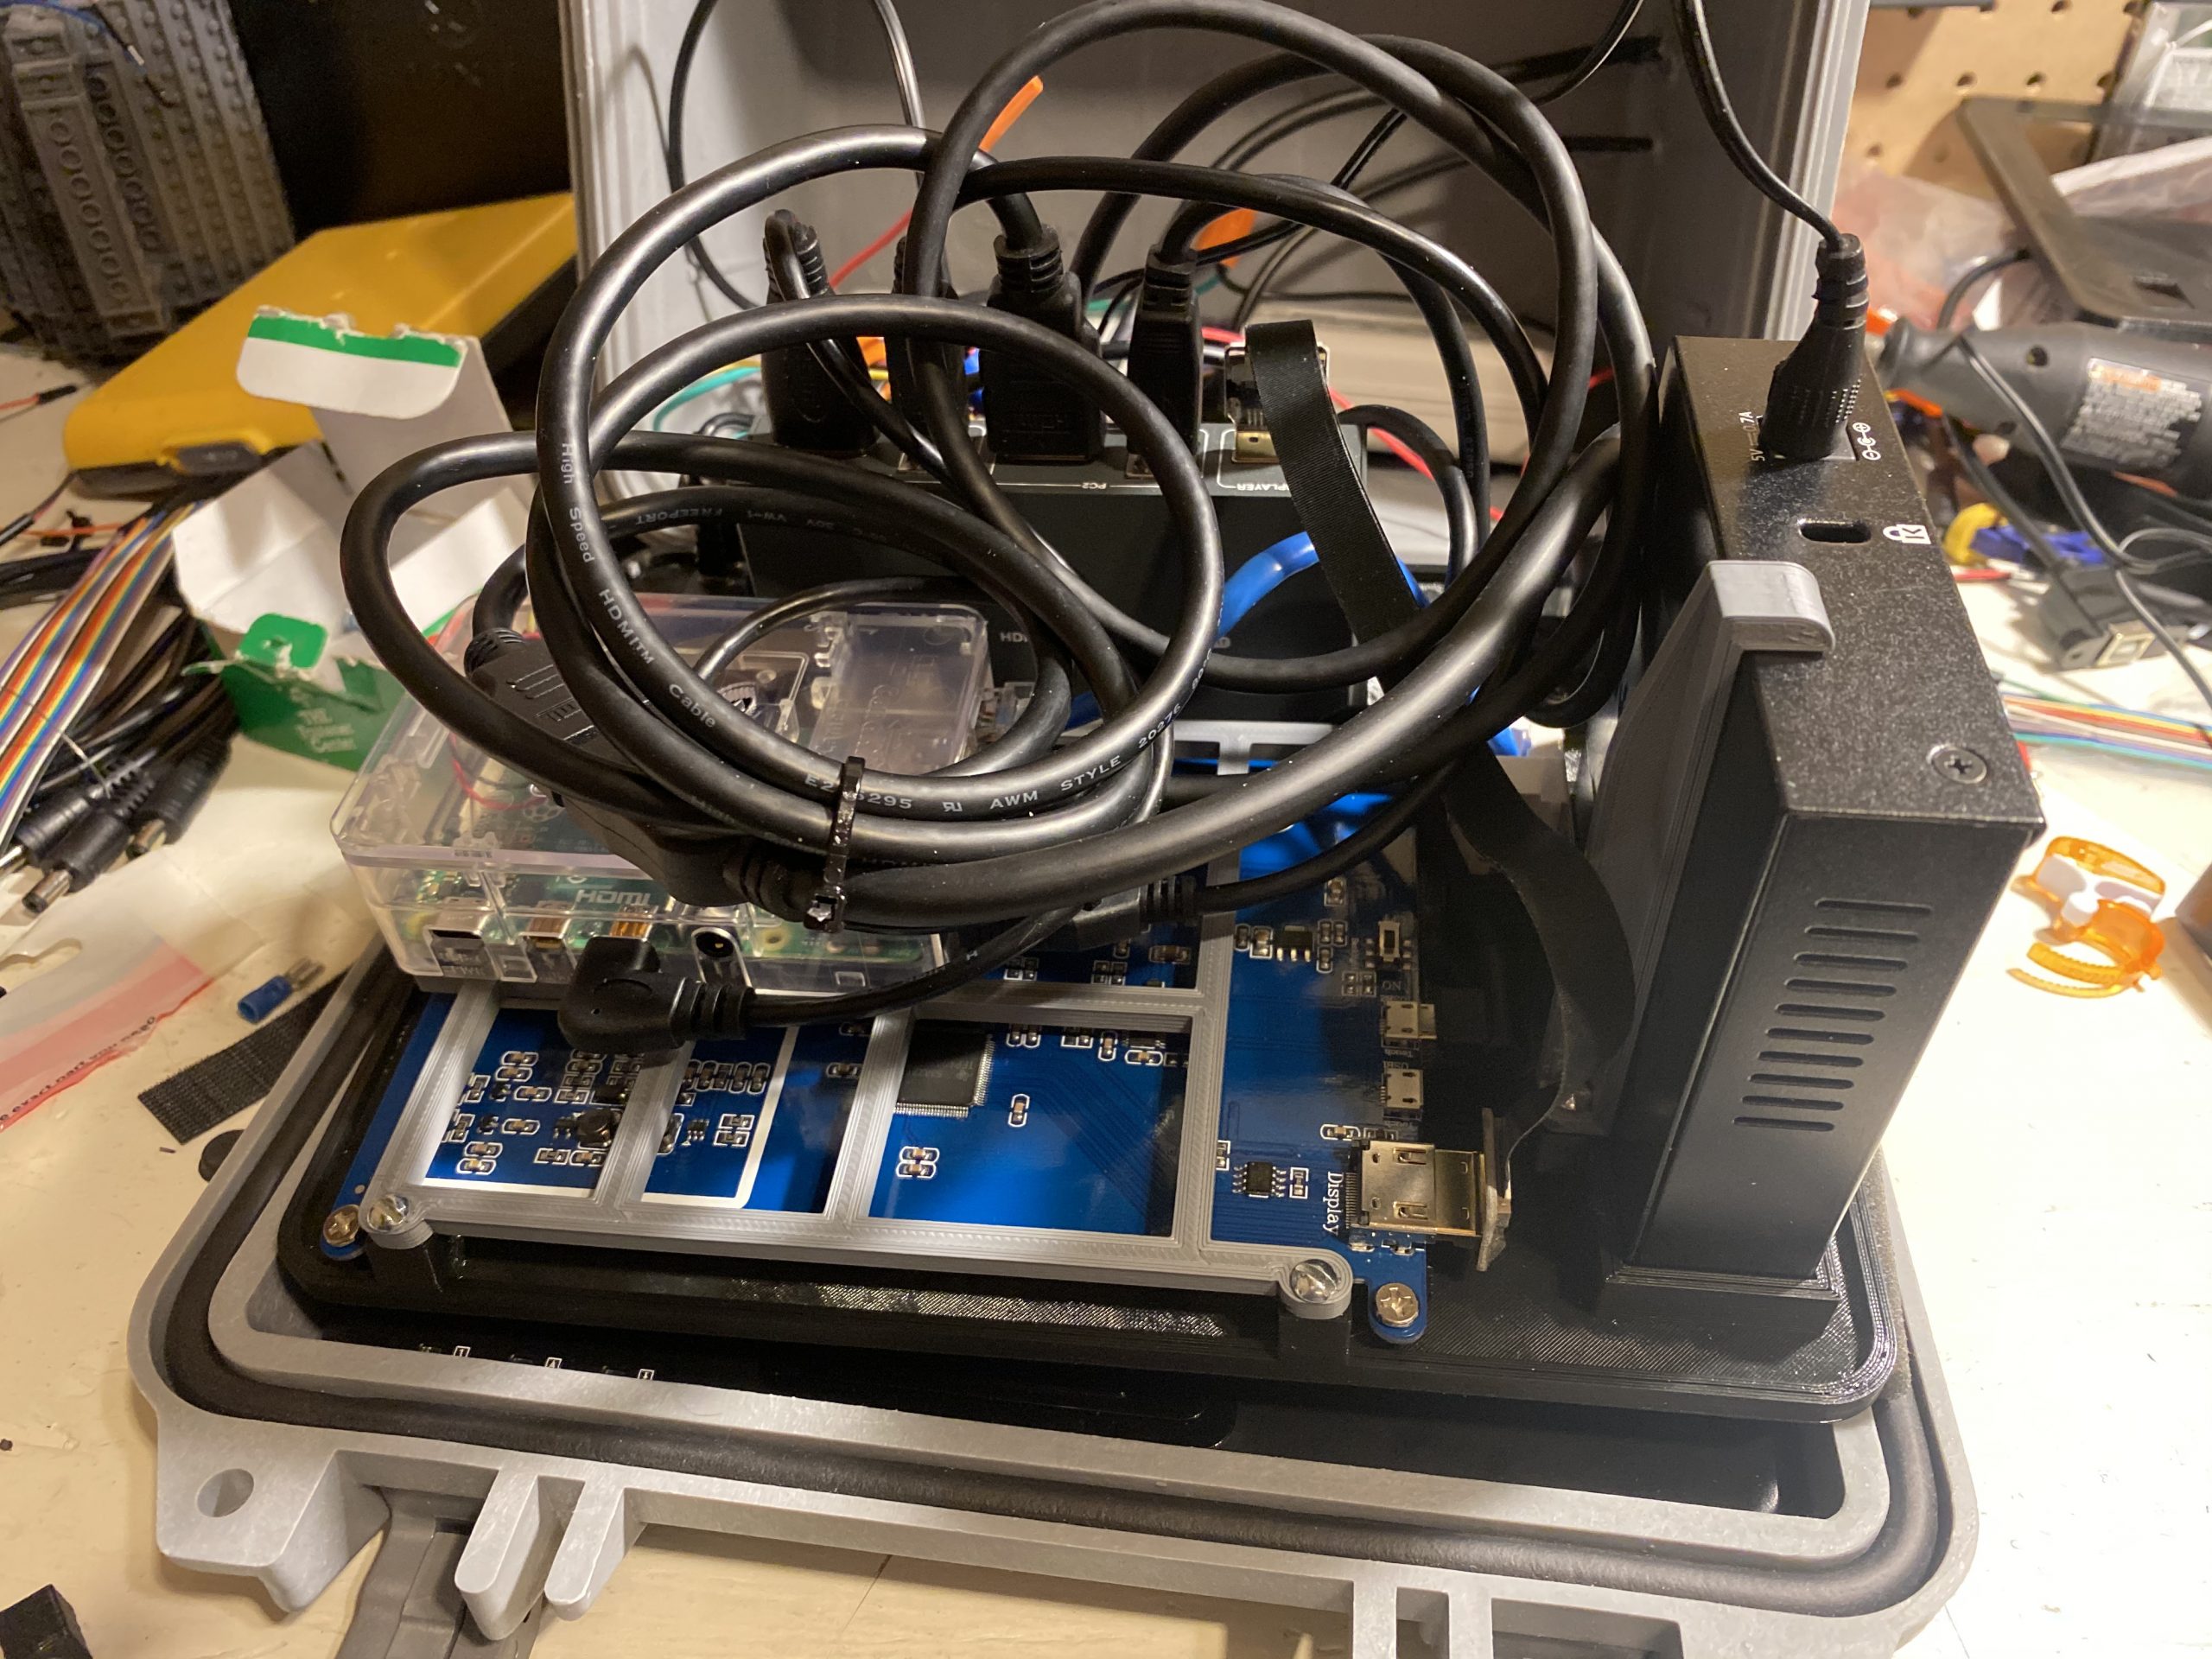
I did a test fit before I started designing anything just to see how things would arrange. The black box on the bottom is the harddrive cage that I’m using here as a spacer.
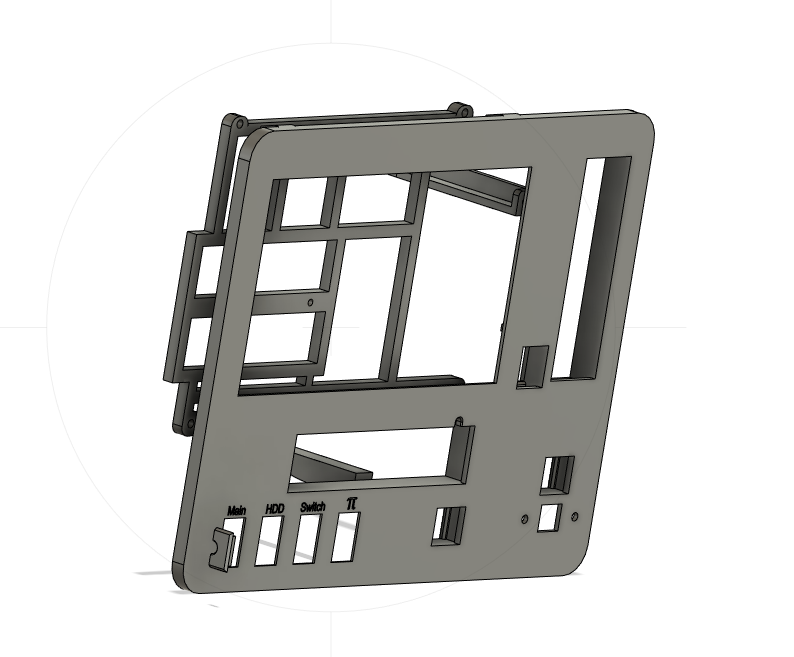
The mounting hardware was all designed in Fusion 360 from scratch. I spent a lot of time looking at the existing designs to get some ideas on how to do things, but everything here I did on my own.
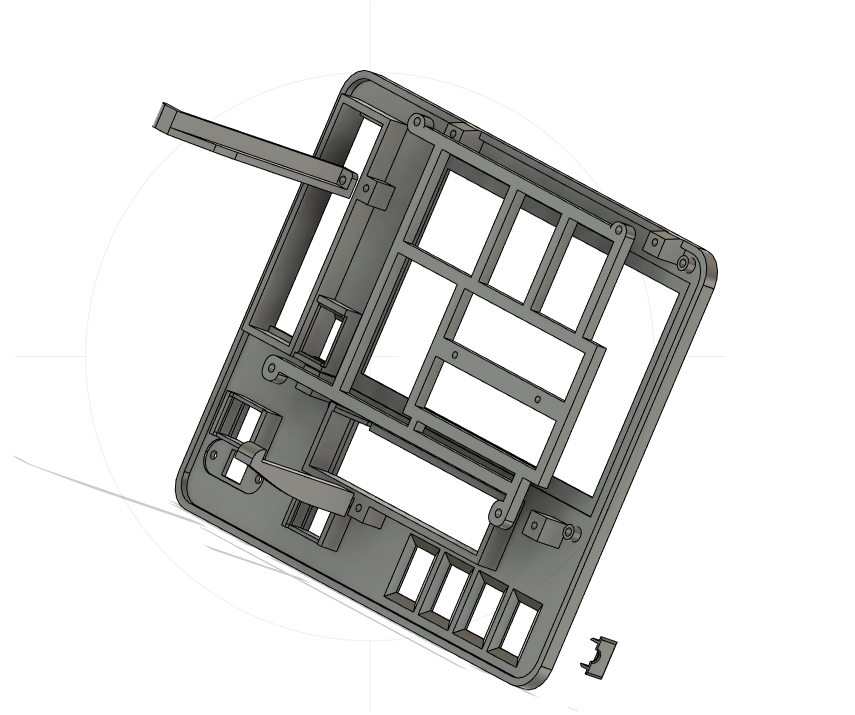
The original screen that others have used has a mount for the Raspberry Pi built into it. Mine doesn’t, so I had to design a separate bracket for the Pi. I used a case that came in the kit I got with the Pi, so the 2 screw holes line up with that case.
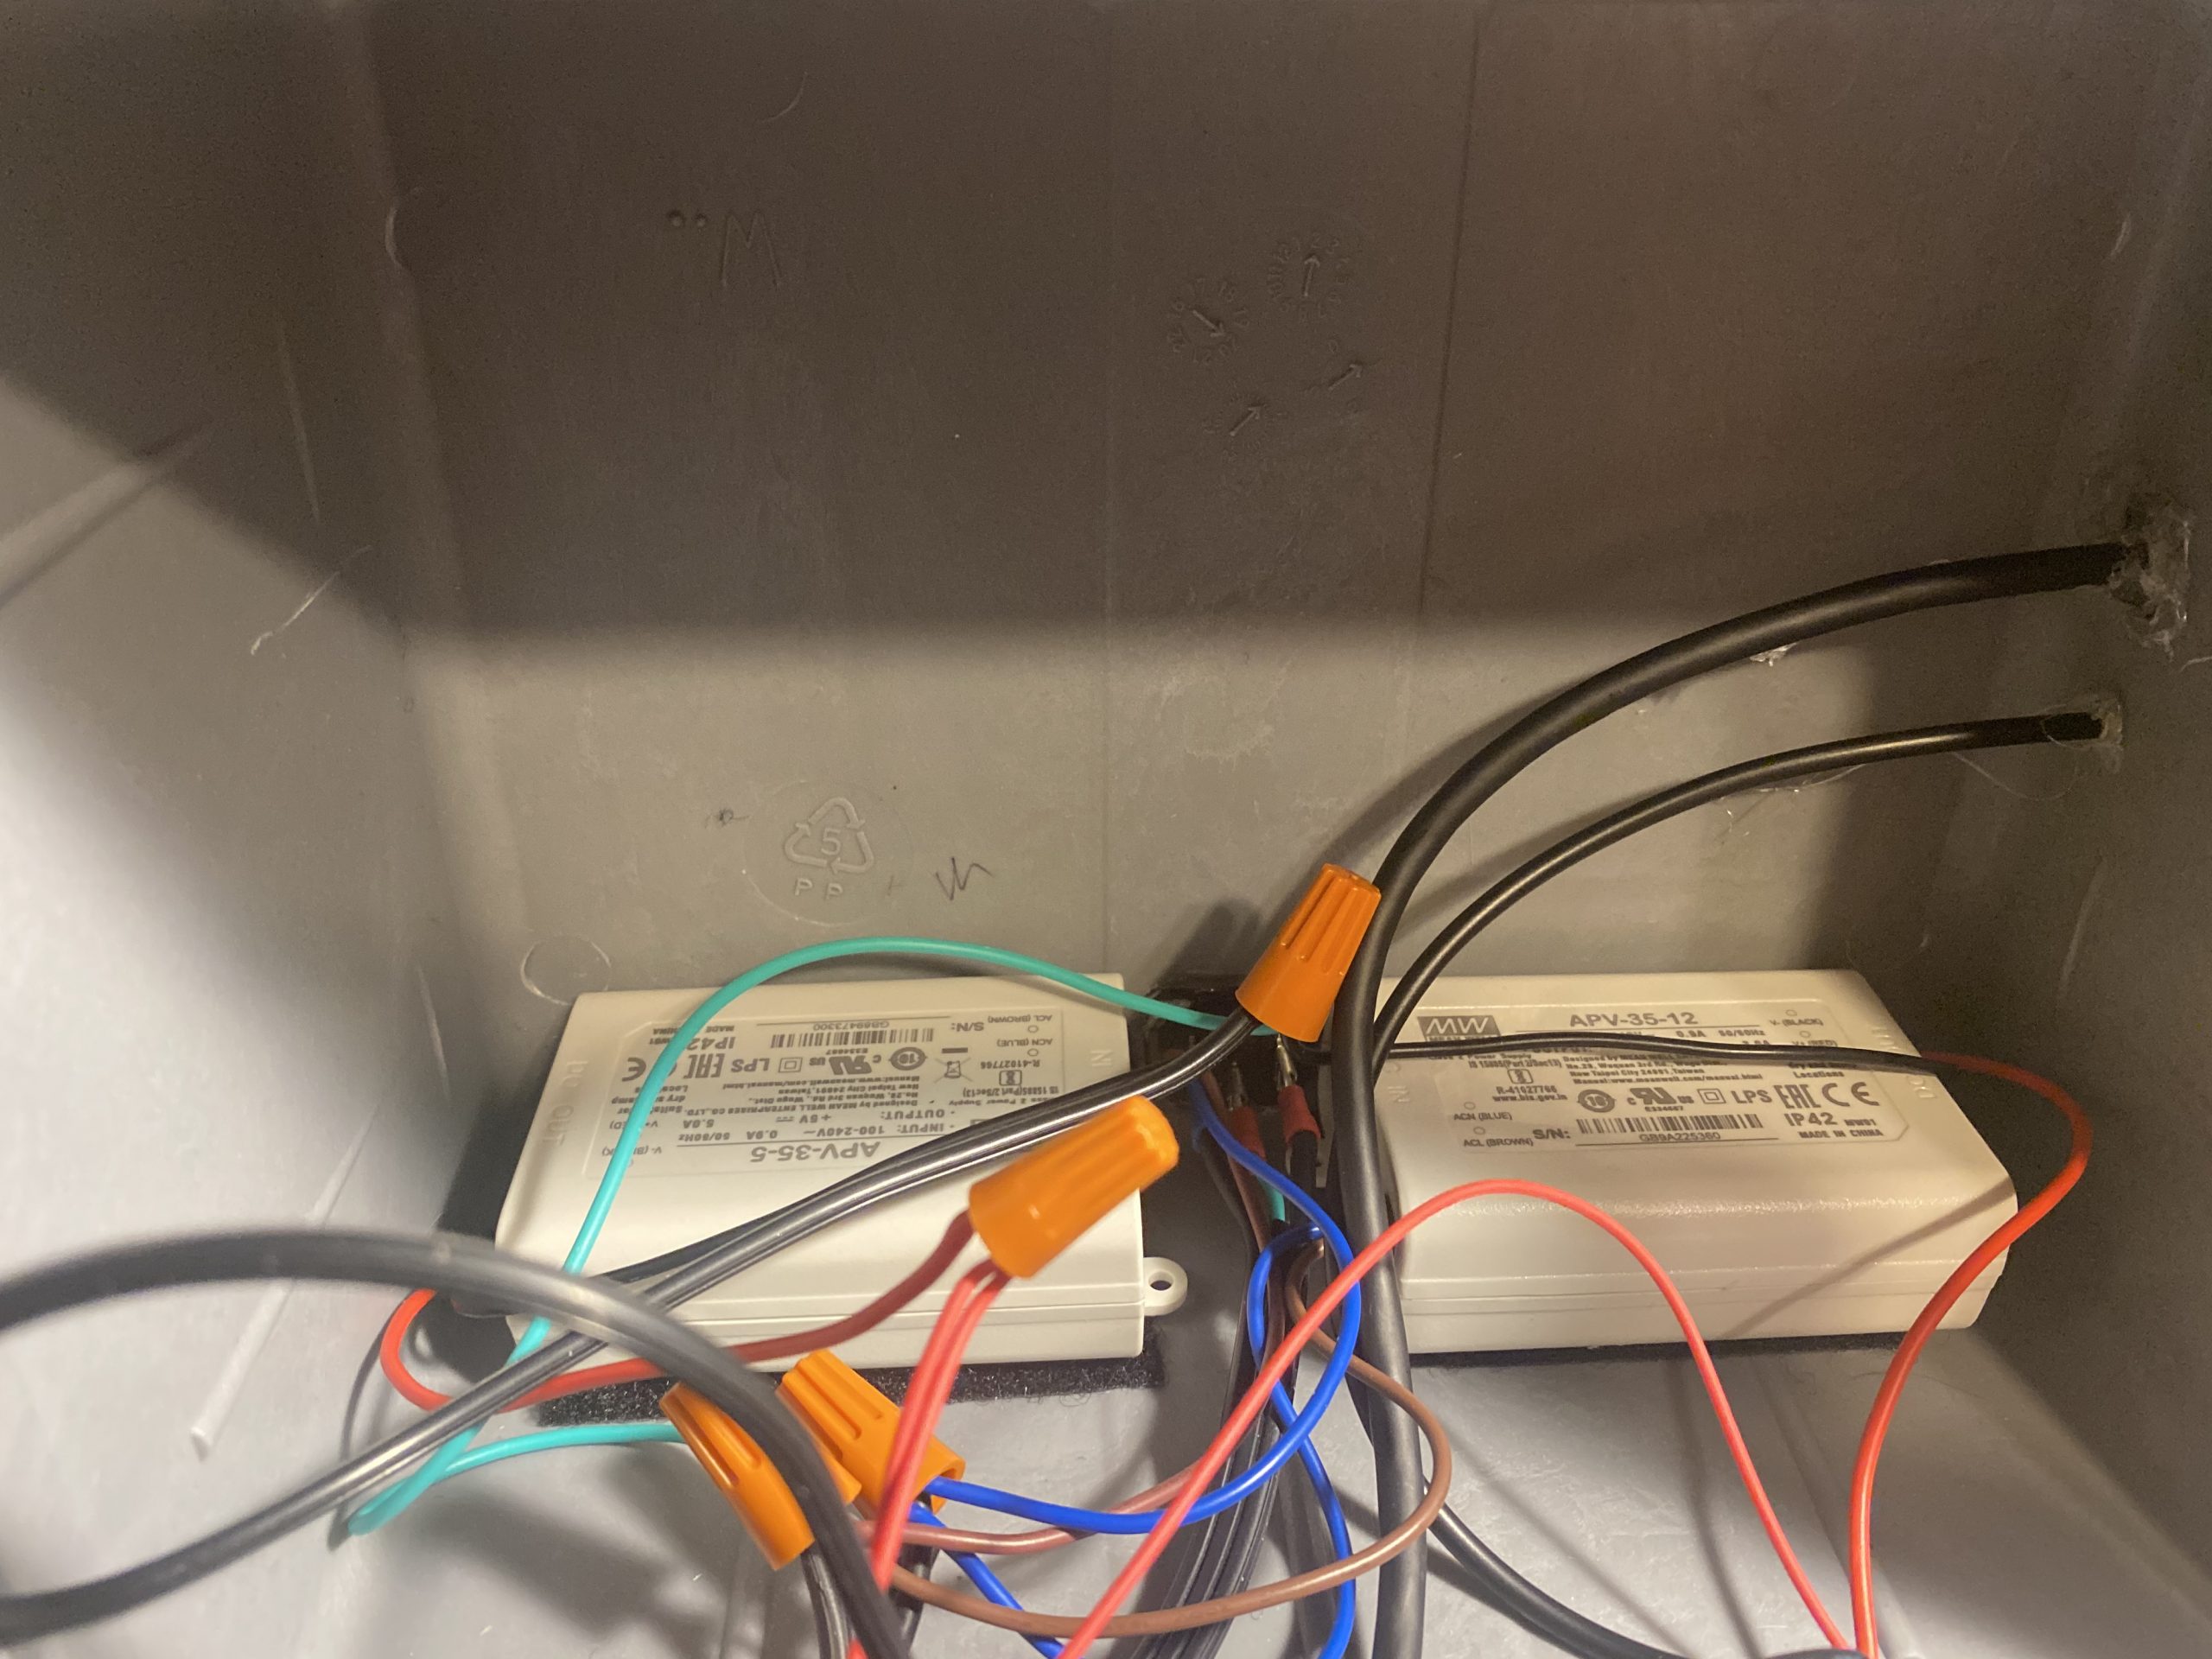
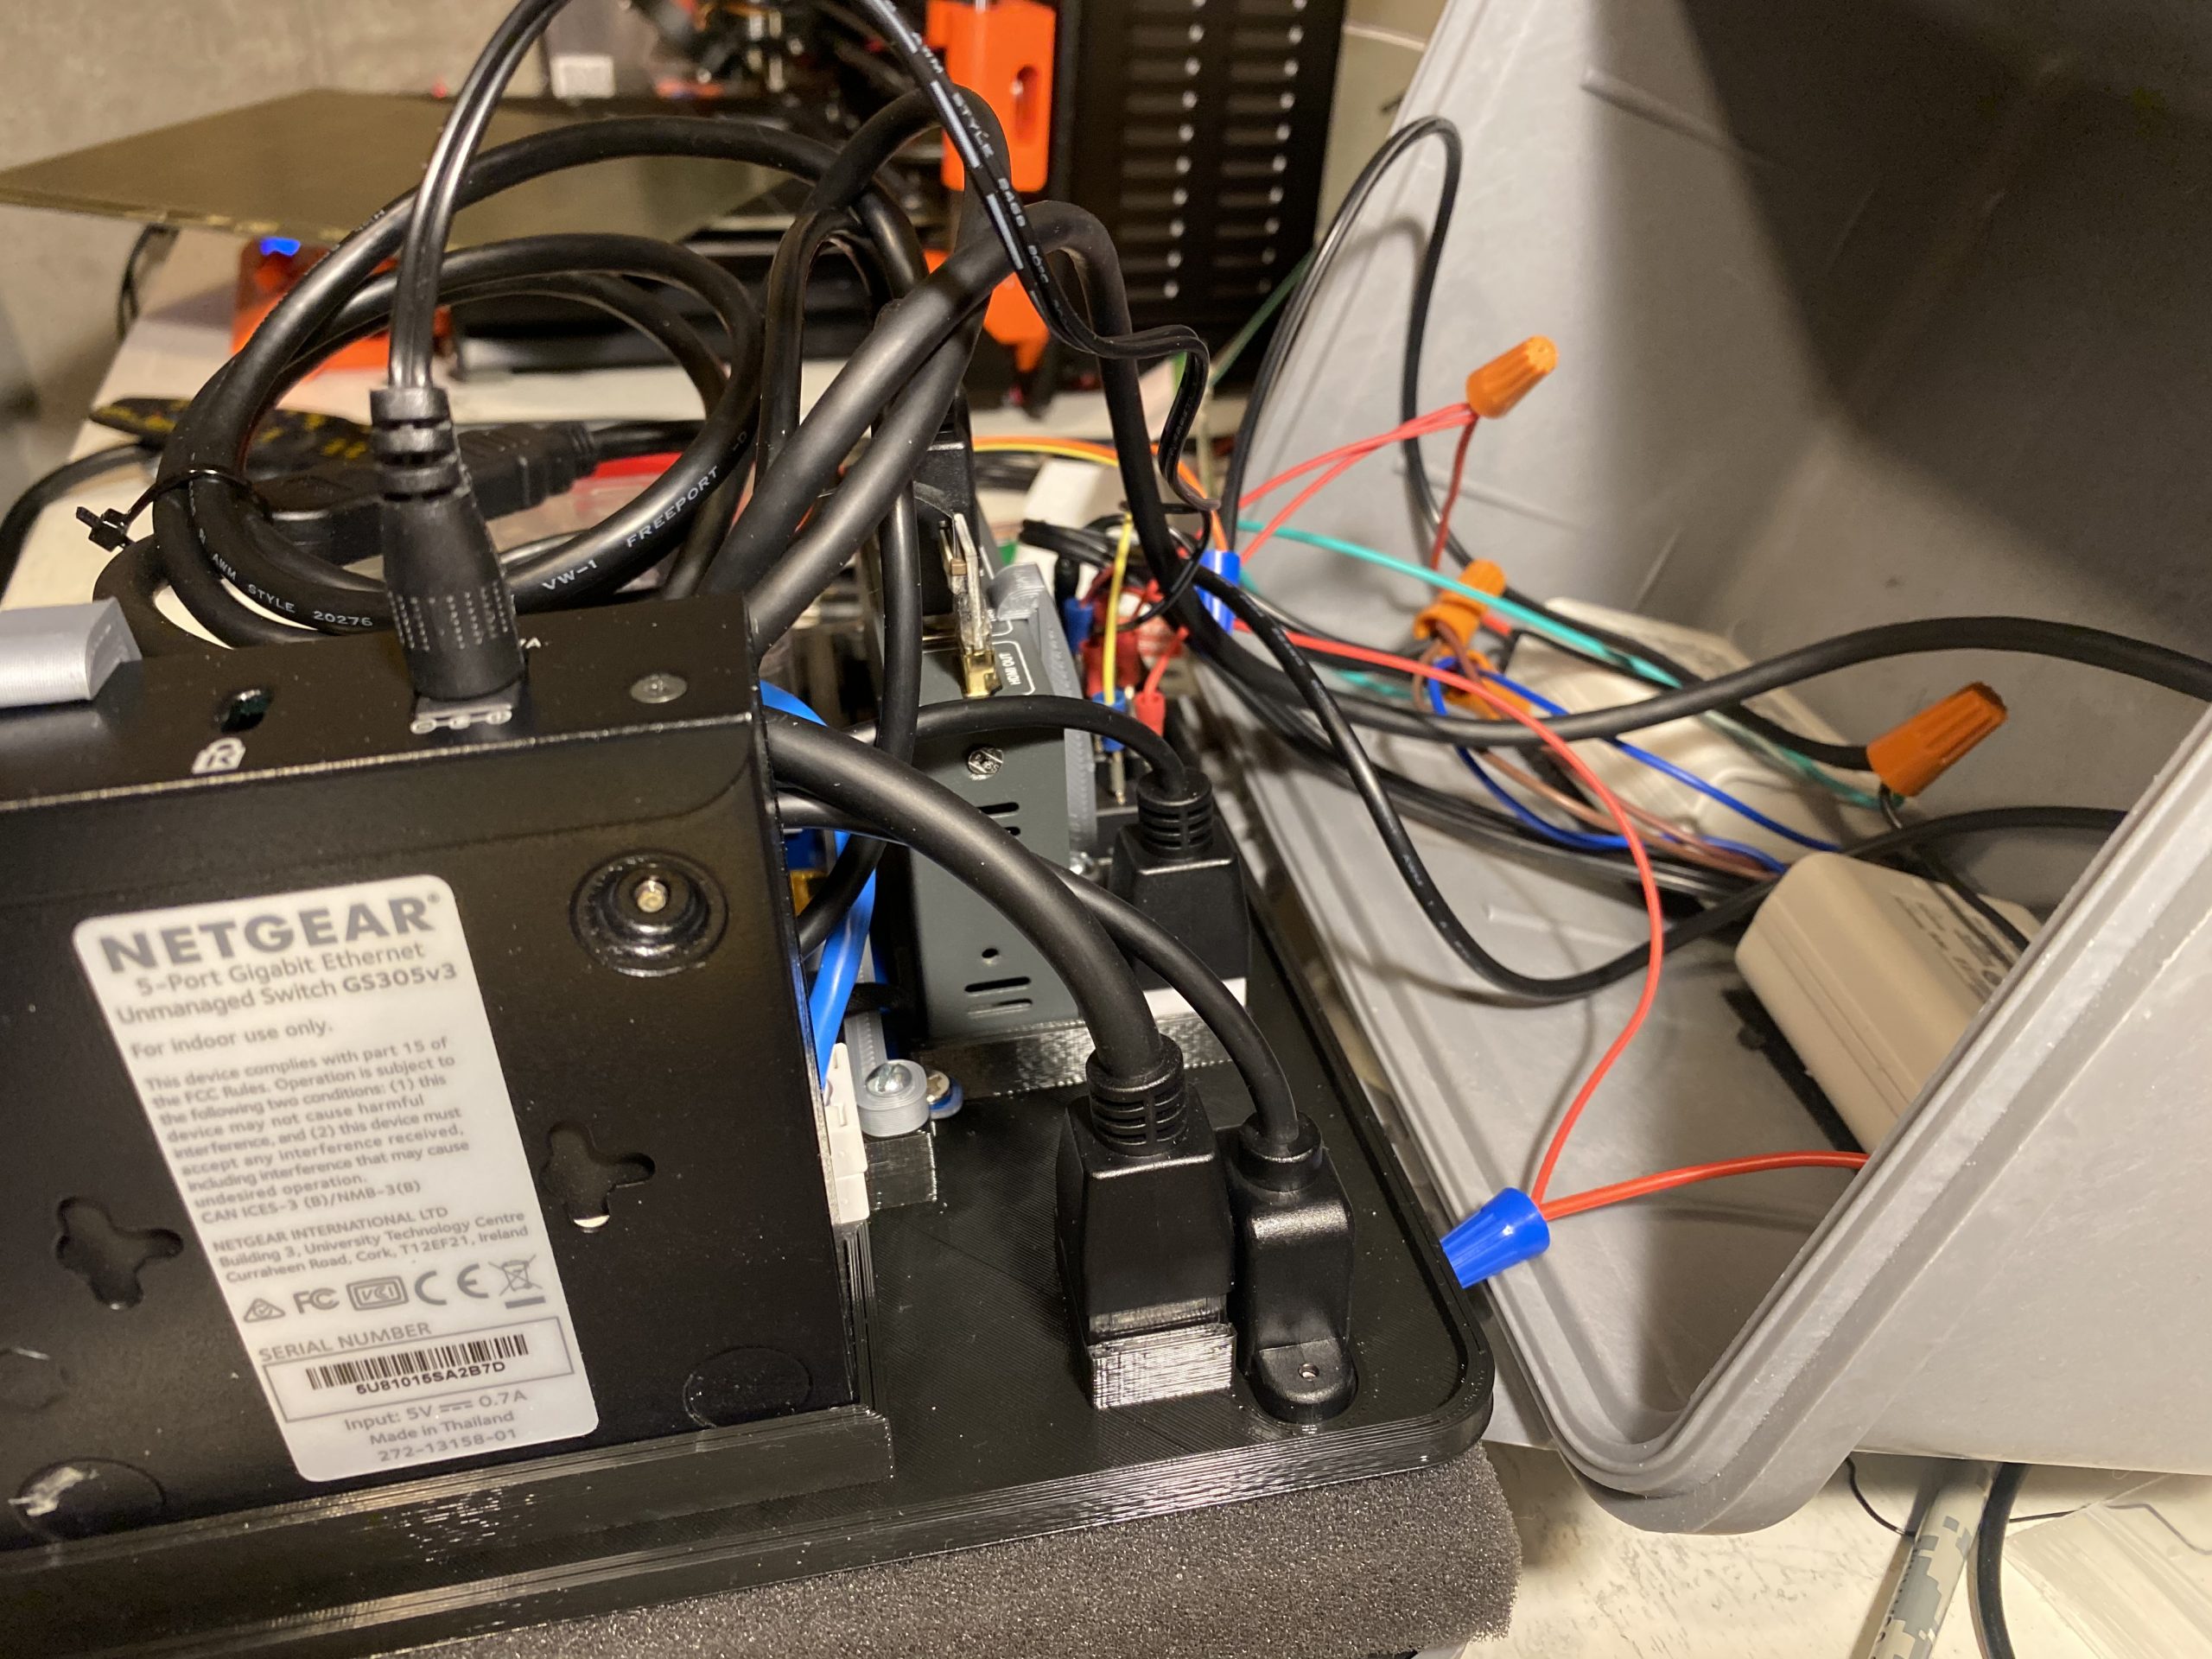
I needed 2 power inverters, one for 12 Volts and one for 5 Volts, so I used stickyback velcro to put them in the base of the case. You can kind of see that between them is the back of the power plug where the AC power comes in. The 12 Volts is needed for the harddrive adapter, The 5 Volts powers the network switch and the Raspberry Pi which in turn powers the screen and the KVM.

The wiring isn’t super clean, but it’s functional.

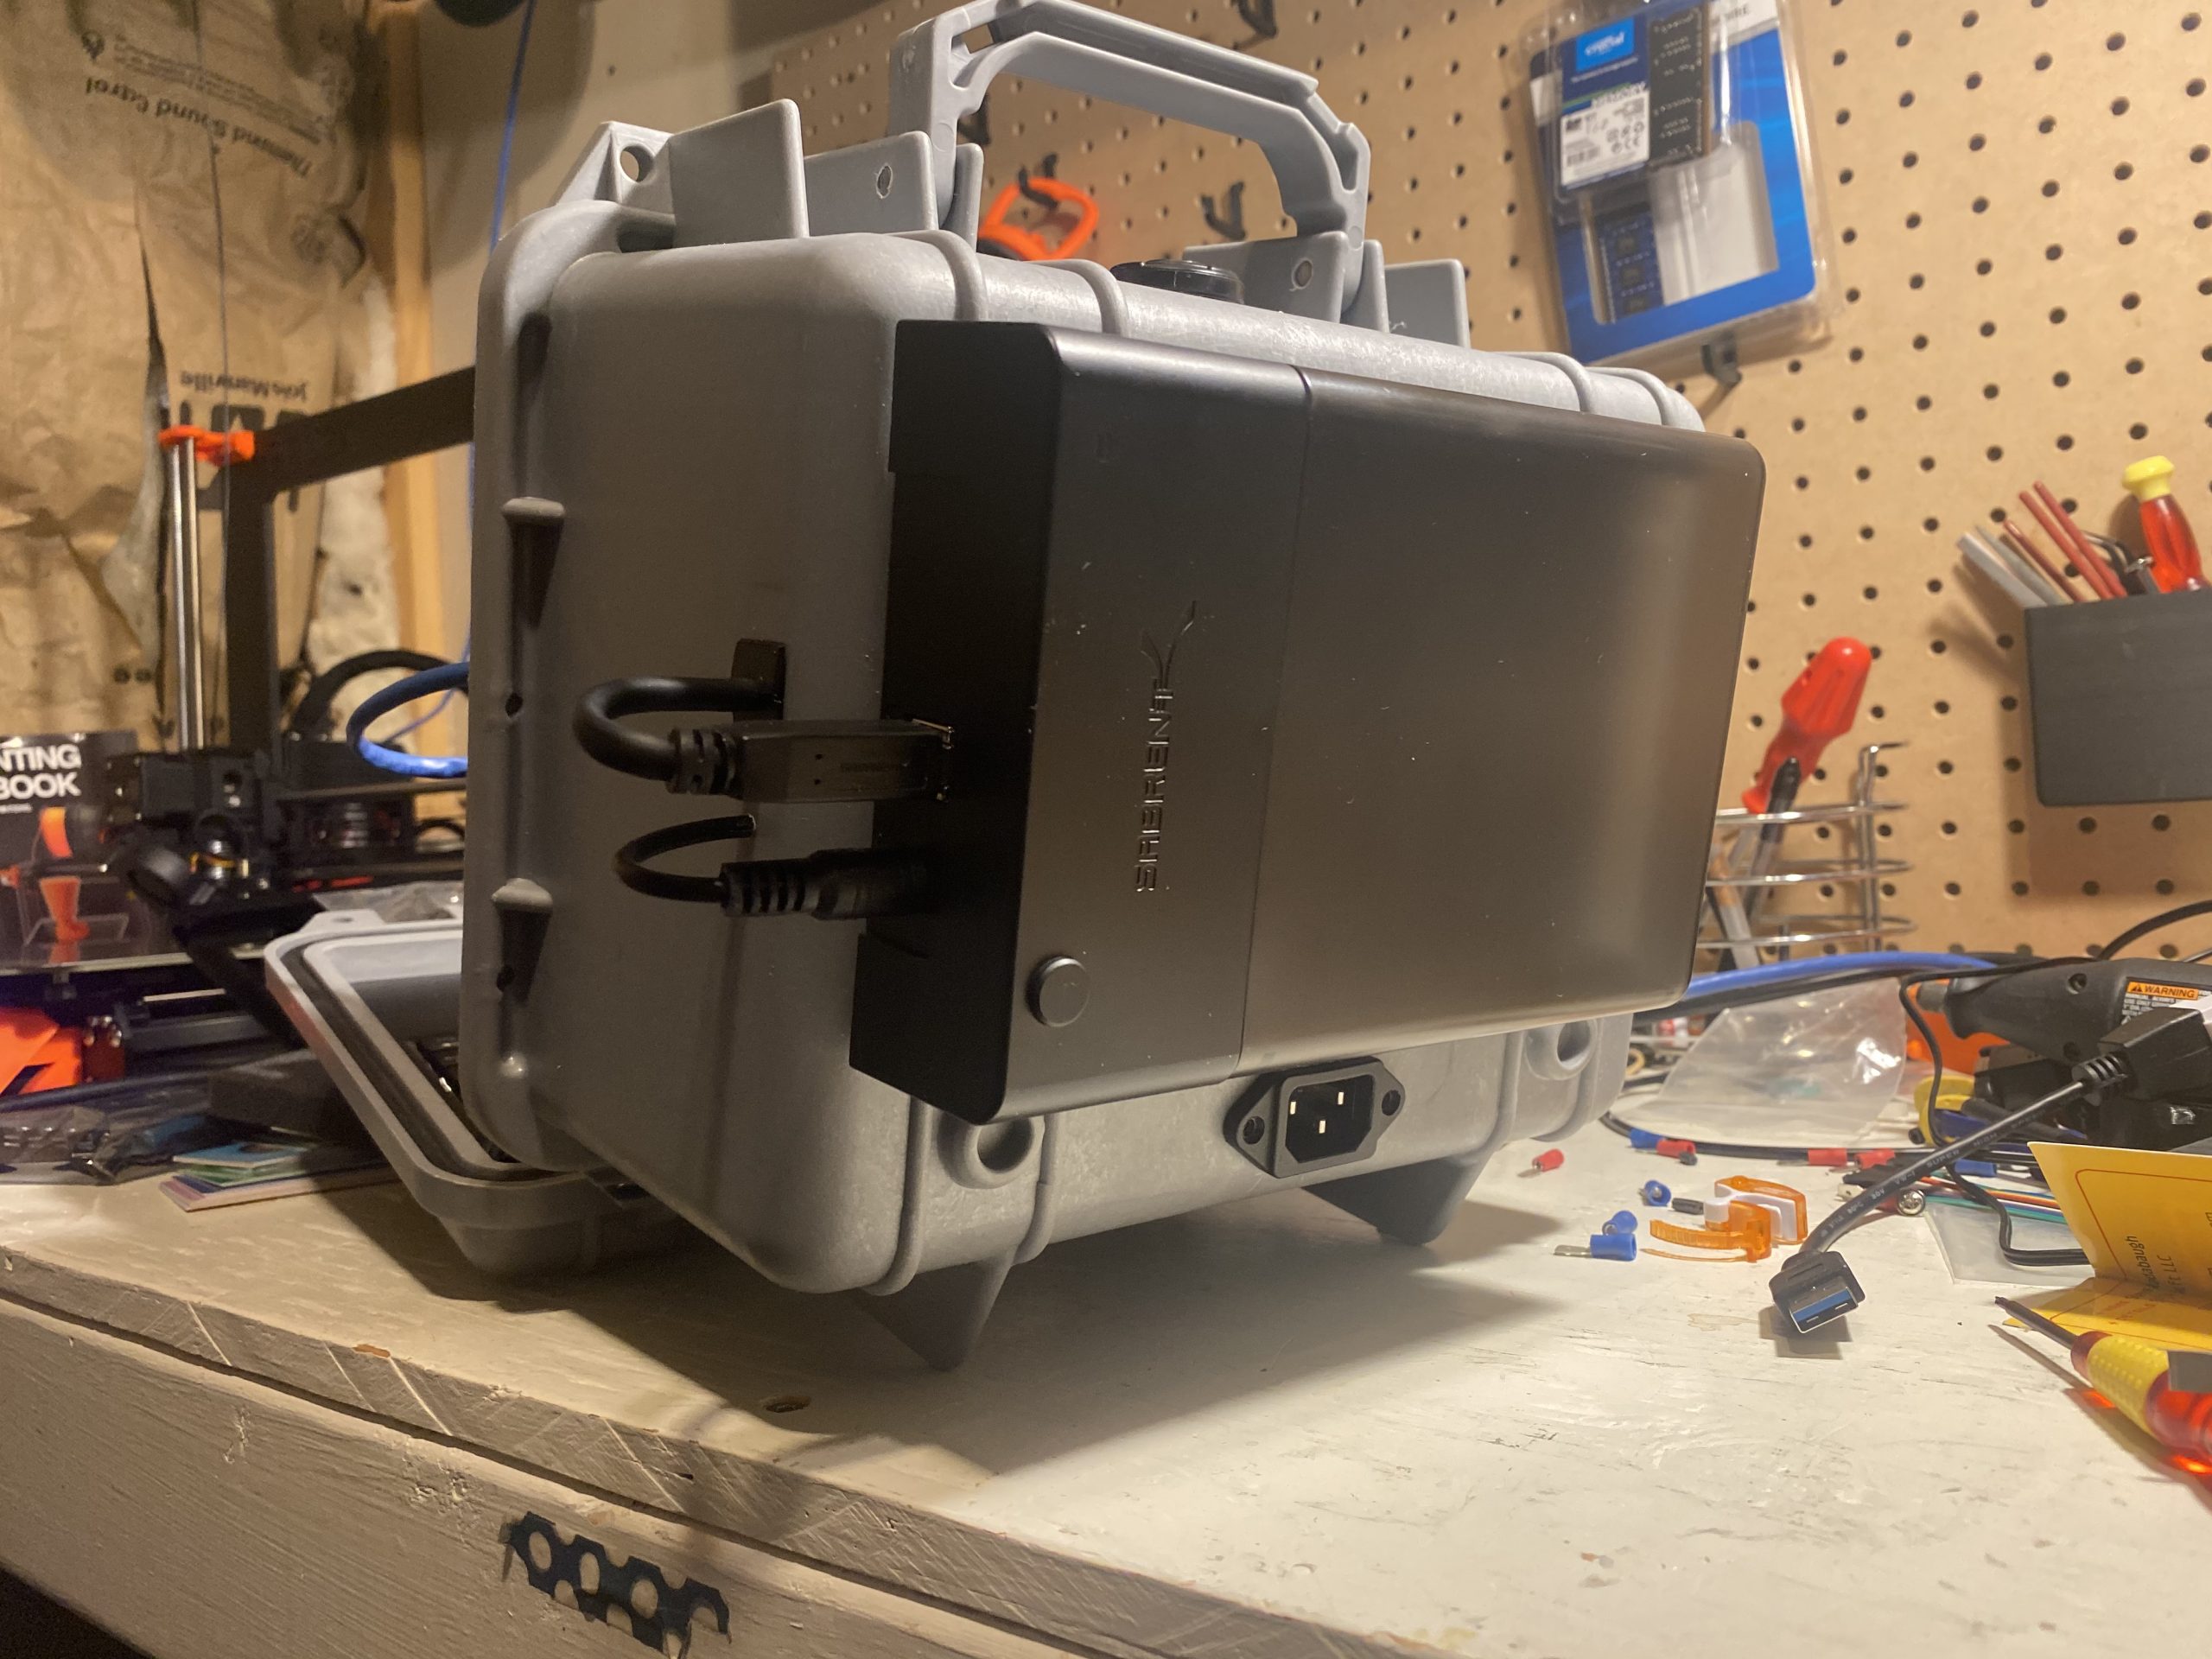
I kind of dig the harddrive cage being on back like a backpack. I 3D Printed a little grommet to go around the USB cable. The inside of the grommet is filled with hot glue. All of the holes that I made got “caulked” with hot glue so it should be water tight again. I’m not going to test it though.
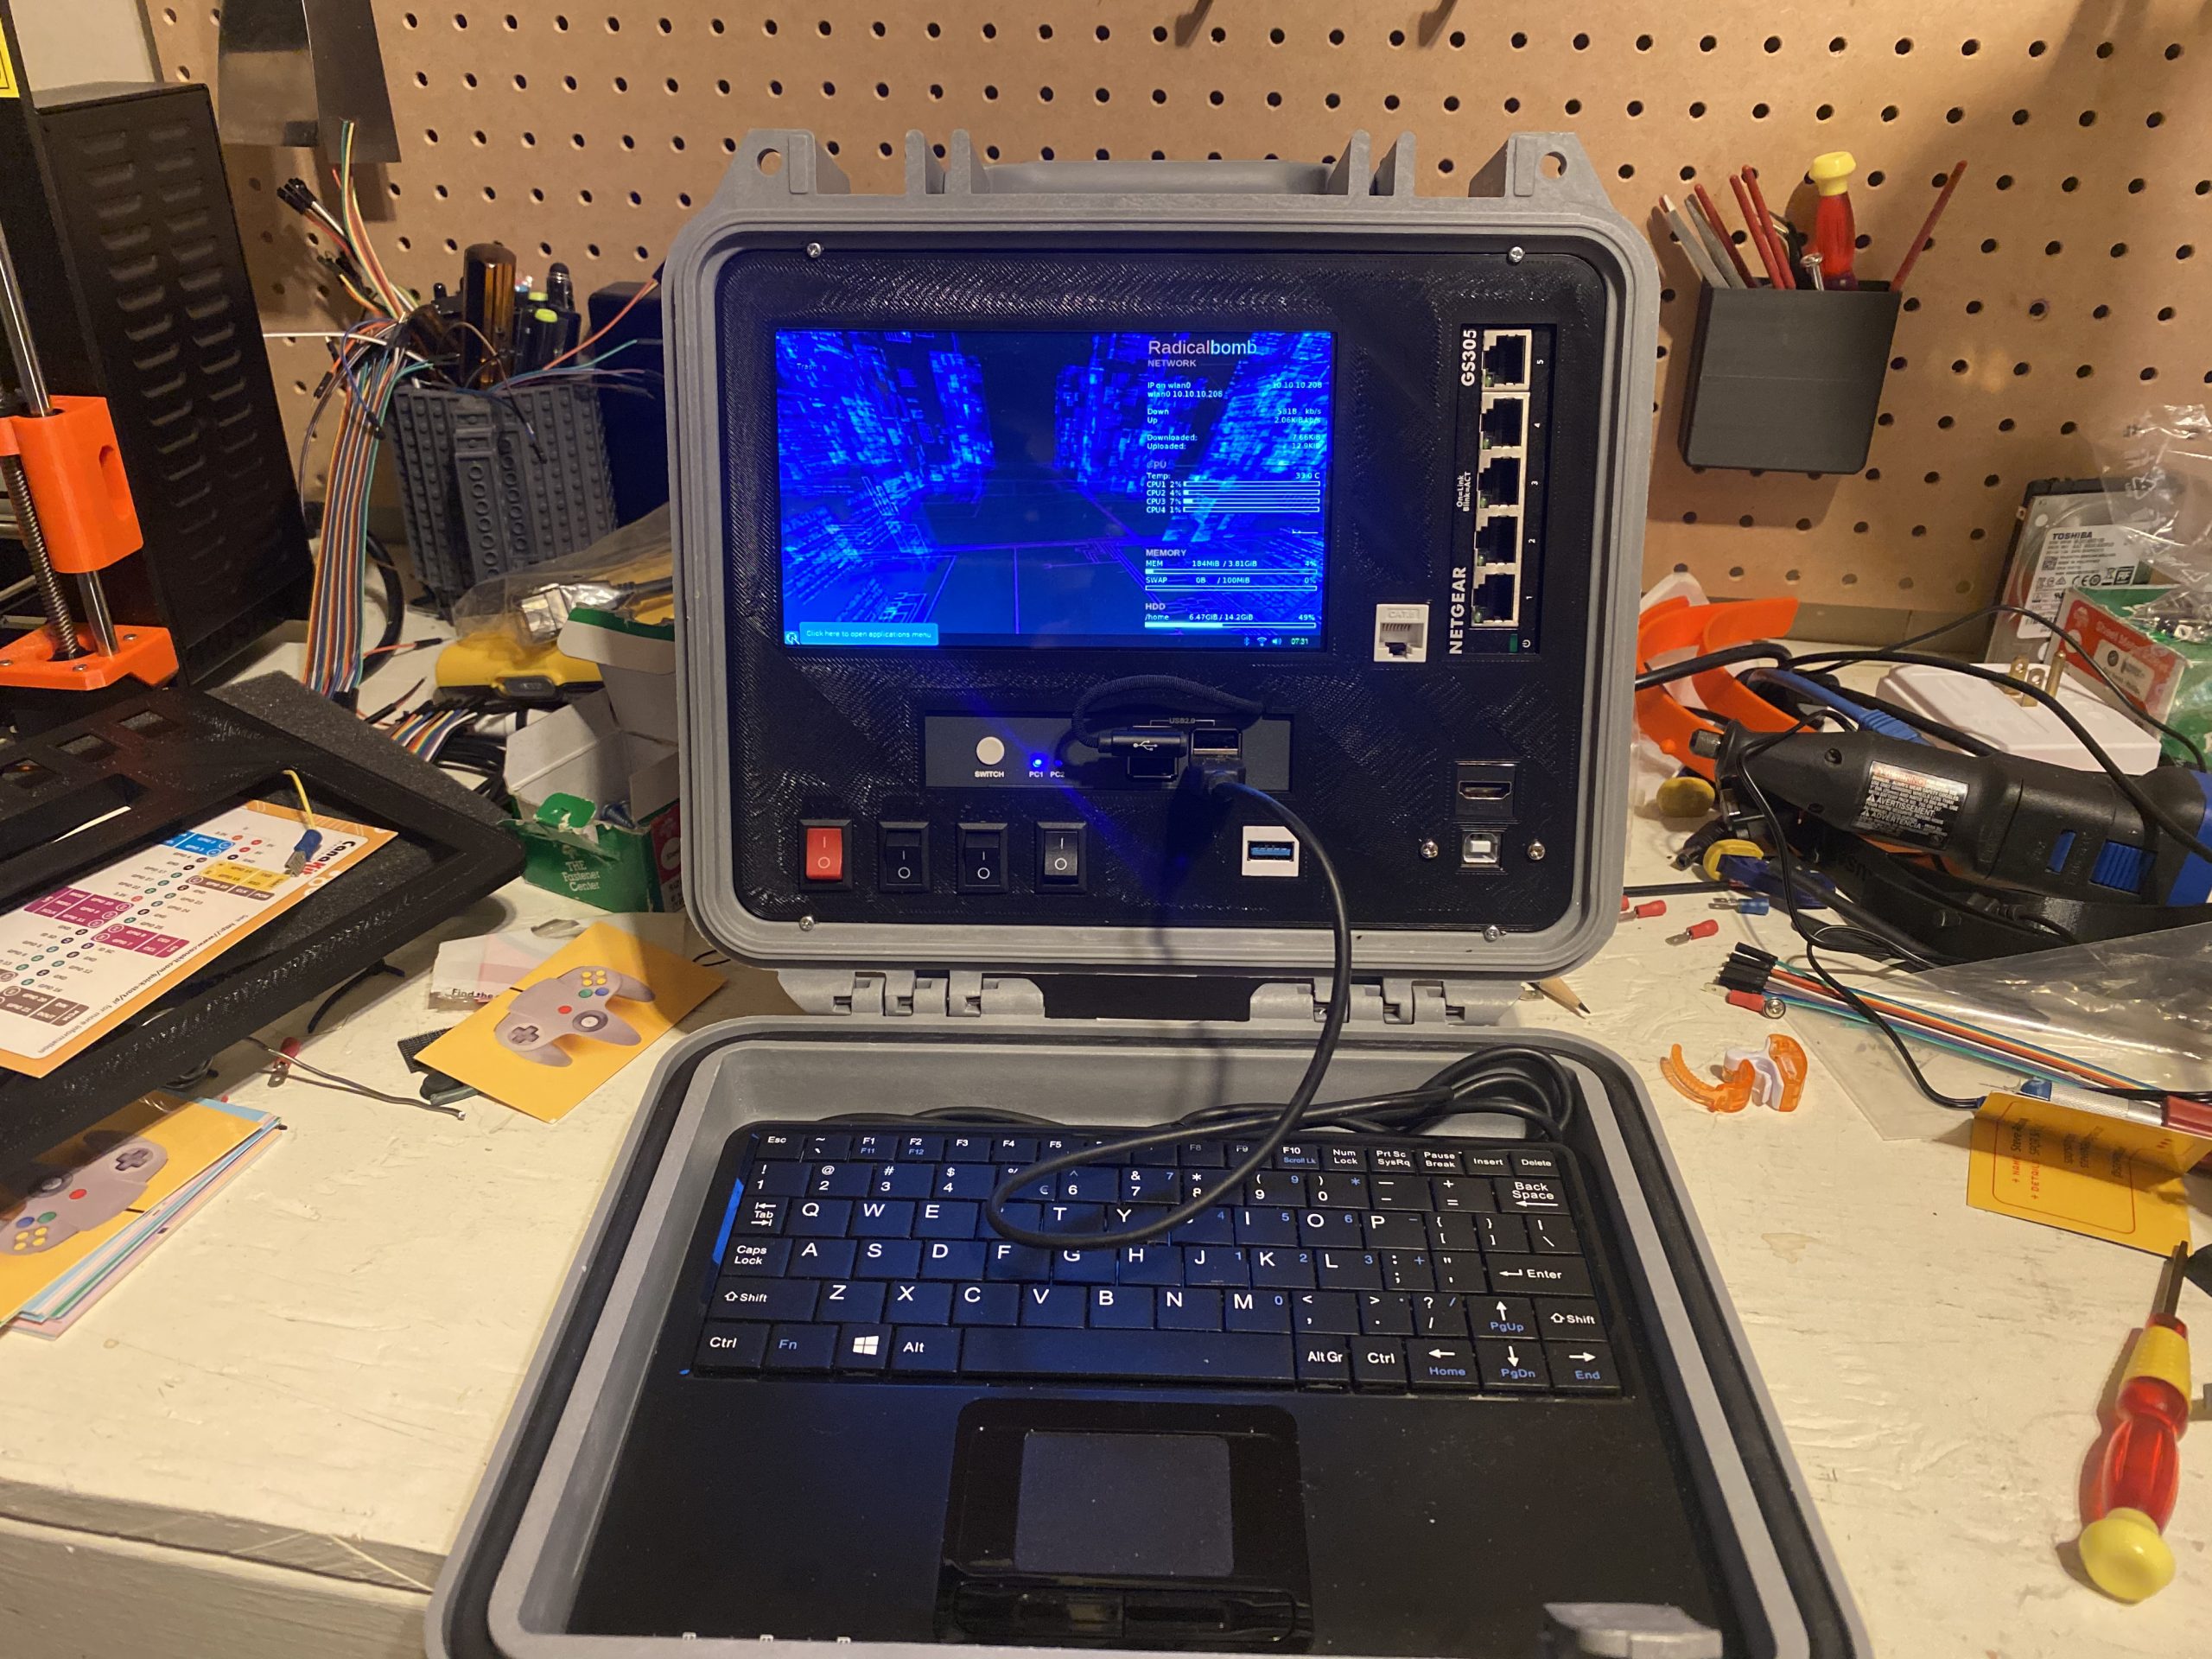
The network jack to the right of the screen is an extension of the raspberry pi’s network jack. It can go directly into a network, or I can jumper it through the switch if I need to connect more devices.
Below the screen is the KVM. I had to run the USB cable for the touch screen and screen power out through a hole to plug into the front of the KVM. It gives it a little bit of a cyberpunk look, so I like it.
The USB in the middle of the bottom is a USB 3 extension that goes right to the Raspberry Pi. If I’m moving files from a harddrive onto something else, that USB 3 plug will be much faster than the other USB 2 plugs that are available on the KVM switch.
The HDMI and USB plugs at the bottom right corner are for the KVM. I can plug those into any other computer and have a screen and keyboard mouse for it. This can come in handy if I’m replacing a computer and I need both running at the same time. Since the screen is powered through the USB, I won’t need to run power to it.
Overall, I’m extremely happy with the result. I’m excited for a good opportunity to road test it.
Cool Stuff • May 17, 2020